How to Break a Stuck Cocktail Shaker: Tips and Tricks
Learn effective and safe methods to open a stuck cocktail shaker and prevent issues with vacuum pressure and residue. Keep your shaker working smoothly.
BAR TOOL GUIDES
Barkeepers BuzzBlog Editorial Team - Led by AJ “Buzz” Eichman
3/16/20267 min read
If you've spent much time behind a bar or mixing drinks at home, you know the frustration of dealing with a stuck cocktail shaker. It’s a common problem that can slow down your flow, disrupt your rhythm, and in some cases, even damage your equipment if you're not careful. From my own experiments and shifts testing gear, I’ve realized that stuck shakers often come down to a few factors: vacuum pressure inside the shaker, metal parts expanding or contracting with temperature shifts, or the pesky residue from ice and ingredients acting like glue.
In this article, we’ll dive into why shakers get stuck, safe and practical ways to get them apart, what to avoid when working on a jammed shaker, and how to keep this from happening again. Whether you’re a home bartender still figuring out your setup or a pro looking to tweak your workflow, these tips will help you keep things moving smoothly behind the bar.
Quick Verdict
Cooling the shaker under cold running water reliably loosens stuck joints by contracting metal.
Gentle tapping around the shaker’s edges helps break seals without causing damage.
Running warm water carefully around the shaker joint can melt ice or loosen residue.
Avoid brute force or sharp tools to prevent dents, breaks, or permanent damage to your shaker.
For overall advice on bar setup and tools, you might like our minimalist home bar tool setup article: Minimalist Home Bar Tool Setup
Why Do Cocktail Shakers Get Stuck?
Understanding why your cocktail shaker gets stuck is key to fixing it—and crucial to preventing future headaches. Based on both technical insight and hands-on testing, here are the main culprits:
Vacuum Pressure
This is often the sneaky cause. When you shake a hot or room-temperature cocktail with ice inside a tightly sealed shaker, the liquid cools suddenly as the ice melts and the air pressure inside drops slightly. This creates a vacuum seal that pulls the joined parts tighter than you’d expect. It’s like the shaker is holding itself closed.
Thermal Expansion and Contraction
Metal expands when warm and contracts when cold, which matters a lot for cocktails shaken with ice or chilled components. Sometimes the metal contracts enough as the cocktail cools down that it clamps parts tightly together, or it can expand in different parts unevenly—both of which cause the lid and body to stick. Running colder water cools and contracts the metal, making separation easier.
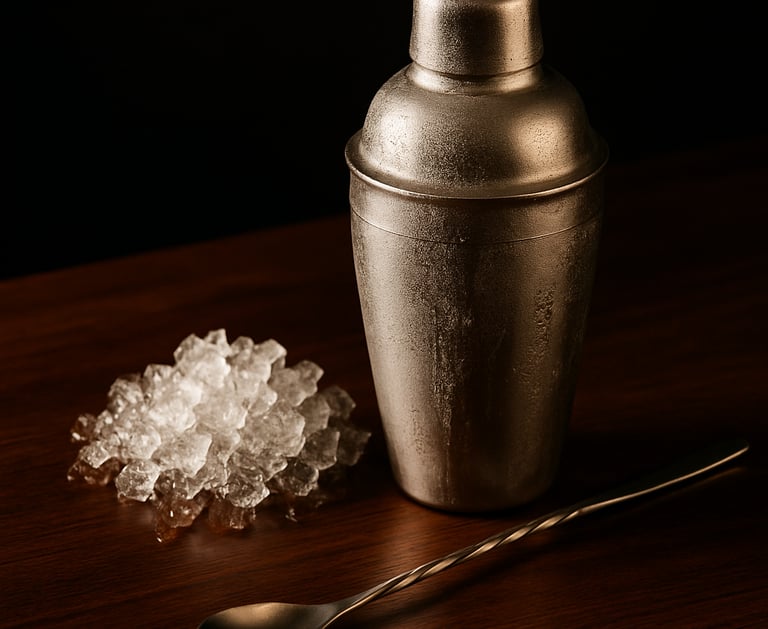
Sticky Residue and Ice
This is a practical but often overlooked cause. Bits of fruit pulp, sugar syrup, sticky liqueurs, or melted ice crystals can act like glue inside the shaker’s joints. Over time, this buildup seals the shaker shut if not cleaned properly between uses.
Overtightening and Design Issues
Sometimes it’s just that the shaker was screwed or pressed together too tightly. With some shaker types—especially two-piece Boston shakers—overzealous sealing can cause parts to jam.
Materials and Tolerances
High-quality stainless steel shakers tend to stick less because of smoother surfaces and tighter manufacturing tolerances. Lower-end or poorly fitting sets are more prone to sticking and leaking.
Safe Methods to Open a Stuck Cocktail Shaker
When you encounter a stuck cocktail shaker mid-shift or during your home bartending session, patience and gentleness pay off. I’ve tested several approaches carefully over shifts. Here are the most reliable methods that worked without risking damage:
Cool It Down Under Running Cold Water
Hold the shaker under cold running water for about 30 seconds to a minute. The cold water cools the metal, contracting it just enough to loosen the vacuum seal or reduce the grip caused by thermal contraction. Focus the water on the joint between the two pieces. I found this often does the trick on Boston shakers sealed too tightly.
Apply Gentle Taps Around the Joint
Using the back (handle end) of a bar spoon or the heel of your hand, gently tap around where the two parts join. The vibrations and slight impact can release stuck residues or break the vacuum seal. I wouldn’t hammer it, but light tapping around helps loosen without deforming metal or denting your shaker.
Warm Water Rinse Around the Edge
If you suspect sticky residue or frozen ice is causing the jam, carefully pour or run warm (not boiling) water around the shaker joint. This melts ice or dissolves sugary film holding parts together. Be cautious—too hot water may not be ideal for all shaker materials or finishes, so test moderately warm water.
Use a Silicone or Rubber Grip
Sometimes your hands might slip trying to twist a stuck shaker. I experimented with silicone jar openers or rubber gloves, which improve grip and reduce the risk of slipping and dropping your shaker. Better grip means less force required.
Avoid Using Sharp Objects or Excessive Force
Whatever you do, don’t reach for knives, screwdrivers, or pry bars. They can scratch, dent, and break your shaker—and worse, slip and cause injury. Applying too much brute force risks ruining your equipment or hurting yourself.
Common Mistakes to Avoid When Trying to Unseal a Shaker
From firsthand experience and observing bartenders, I’ve seen these blunders lead to more problems than solutions:
Prying Open with Excessive Force
Trying to muscle a stuck shaker open often ends in denting or warping the metal, making the shaker harder to clean and potentially compromised for future use.
Ignoring Temperature’s Role
Not realizing that cooling or warming your shaker intentionally can help break the seal leads to unnecessary frustration. Applying cold water first can work wonders.
Not Cleaning Properly After Use
Leaving sticky residues or moisture inside overnight causes buildup that glues parts together over time. Regular disassembly, cleaning, and drying is essential.
Forcing It Without Checking
Sometimes the shaker is stuck because of vacuum pressure or ice. Trying to force it open without running water or tapping first ignores the real problem.
Using Damaging Tools
Sharp or metal objects may seem quick but risk permanent damage to your shaker and safety.
Preventive Tips to Keep Your Cocktail Shaker from Getting Stuck
I like to think of stuck shakers as avoidable issues with the right habits. Here are practical tips to keep your shakers opening smoothly for years:
Clean and Dry Thoroughly Between Uses
Disassemble your shaker parts after service, scrub them well, rinse out all residue, and dry completely. Water or syrup buildup is a main cause of sticking.
Store Shaker Parts Slightly Apart
When storing, avoid nesting your shaker parts fully together. Leave lids and bodies slightly separated to prevent vacuum seals or clinging parts.
Don’t Overtighten
Seal the shaker firmly but avoid twisting or pressing harder than needed. Over-tightening can cause sticking.
Choose Quality Materials and Designs
Invest in shakers with good stainless steel and proper manufacturing tolerances. Some premium Boston and Cobbler shakers resist sticking better due to smoother finishes.
Be Mindful of Temperature Effects
If you’re shaking hot cocktails or lots of ice, anticipate sticking issues. You can run cold water over the shaker before trying to open it.
What to Do If Your Shaker Breaks While Opening
Even with care, shakers can break—especially cheaper ones or ones already dented. If this happens:
Stop forcing the breakage.
Evaluate if you can repair or replace the shaker.
Avoid using sharp broken edges to prevent injury.
Consider upgrading to a stronger model with better build quality.
Broken shakers aren’t worth risking cuts or ruined drinks.
Choosing Shakers That Are Less Prone to Getting Stuck
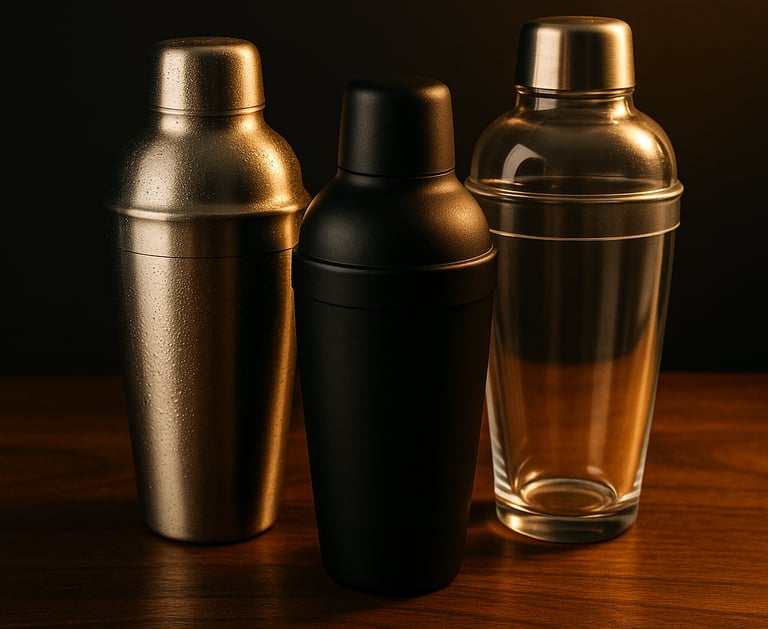
Not all cocktail shakers are created equal when it comes to sticking. Two common shaker types are Boston shakers (two-piece metal tins) and Cobbler shakers (three-piece with built-in strainer and cap).
Boston Shakers
Pros: Fast to use, easier to clean, favored by pros.
Cons: Can get stuck from vacuum effect if overtightened.
Tips: Use cold water trick to unseal; quality metal reduces sticking.
Cobbler Shakers
Pros: Convenient design, decent seal.
Cons: More parts create more potential sticking points.
Tips: Clean carefully around strainer assembly; don’t overtighten cap.
Materials matter, too. Stainless steel is the standard—and higher-grade 18/8 or 18/10 stainless steel tends to have smoother surfaces and better resistance to sticking than cheaper alloys or plated metals.
If you’re shopping, look for reviews mentioning fit and ease of use. For a solid starter shaker with fewer sticking problems, I’d recommend a well-reviewed stainless steel Boston shaker.
If you’re looking to upgrade your setup, our guide to the best cocktail shakers highlights durable, easy-to-use options: Best Cocktail Shakers
Frequently Asked Questions
Why does my cocktail shaker get stuck so often?
Mostly because of vacuum pressure forming inside as the cooled liquid contracts, combined with temperature effects causing metal parts to clamp tighter, or sticky residues accumulating from ingredients and ice.
How can I safely open a stuck cocktail shaker?
Run it under cold water, tap gently around the joint, or use warm water to dissolve ice or residue. Avoid prying with sharp objects or excessive force.
Can using hot water damage my cocktail shaker?
Very hot or boiling water could potentially affect finishes or deform thin metals. Warm water at a moderate temperature is safer for melting ice or residue.
What causes vacuum pressure to form inside a shaker?
When hot or warm liquid rapidly cools inside a sealed shaker, air pressure drops, creating suction that pulls the shaker parts tightly together.
Is it safe to hit the shaker to open it?
Gentle tapping is safe and effective. Avoid hard or heavy impacts.
How do I prevent my shaker from getting stuck in the future?
Clean and dry it thoroughly after each use, store parts slightly separated, don’t overtighten seals, and choose high-quality shakers.
What should I do if my shaker breaks while trying to open it?
Stop using the broken shaker immediately to avoid injury. Replace it with a sturdier shaker.
Are certain shaker types less prone to getting stuck?
Higher-quality Boston shakers made with smooth stainless steel tend to resist sticking better than cheaper models or Cobbler shakers with more joints.
Conclusion
Breaking a stuck cocktail shaker can slow down your bartending and test your patience, but with a measured approach, it’s rarely a lost cause. Temperature tricks like cooling under cold water, gentle tapping, and targeted warm water can loosen seals safely without damage. Avoid the urge to force it or use sharp tools that risk harming your shaker or yourself. Beyond quick fixes, maintaining your shaker by cleaning thoroughly, storing smartly, and choosing quality gear reduces sticking before it starts.
I’ve been there, testing and learning how gear behaves behind the scenes. If you’re experimenting and growing your skills, these tips will keep you mixing with confidence and save you from sticky situations—literally and figuratively. Cheers to smooth openings and better cocktails.
To learn more about different shaker types and how to use them efficiently, check out our detailed breakdown of Boston vs Cobbler shakers: Boston vs Cobbler Shaker
© 2026 Barkeepers Buzz. All rights reserved.
Barkeepers Buzz
Master cocktails, spirits, and bar knowledge with clarity and precision. Built for serious home enthusiasts.
Crafted with respect for the culture — and the responsibility that comes with it.
For educational purposes only. Intended for legal drinking age audiences. Please drink responsibly.
General Inquiries: