Planning a Wet Bar Sink the Right Way
Learn how to plan your wet bar sink installation with the right sink type, proper placement, and plumbing tips to ensure durability and functionality.
HOME BAR GUIDES
Barkeepers BuzzBlog Editorial Team - Led by AJ “Buzz” Eichman
3/1/20265 min read
Creating a wet bar that works well and lasts depends a lot on how you plan and install the wet bar sink. Whether you’re upgrading a basement or putting together a dedicated bar spot, the sink’s type, placement, and plumbing setup are the details that matter most in any serious home bar setup. This guide covers what you need to know about planning a wet bar sink—picking the right style and steering clear of common mistakes.
Quick Verdict
- Pick the sink type based on your countertop material and how you want it to look: undermount sinks give a cleaner edge; drop-in sinks are simpler to install.
- Plan plumbing early. A wet bar drain pump can make tricky drainage easier.
- Use 100% neutral-cure silicone sealant for a solid, leak-proof install.
- Don’t skimp on tracing templates or checking clearances. These steps prevent leaks and installation headaches.
Why Planning Your Wet Bar Sink Matters
A wet bar sink does more than run water. It’s the hub of your bar’s usefulness. If planning is rushed or corners are cut, you’ll see leaks, harder upkeep, or a sink that feels out of place. Good planning means using space well, fitting existing plumbing, and keeping the bar looking neat. A wet bar sink also needs to coordinate with surrounding home bar refrigeration and beverage storage to keep workflow efficient.
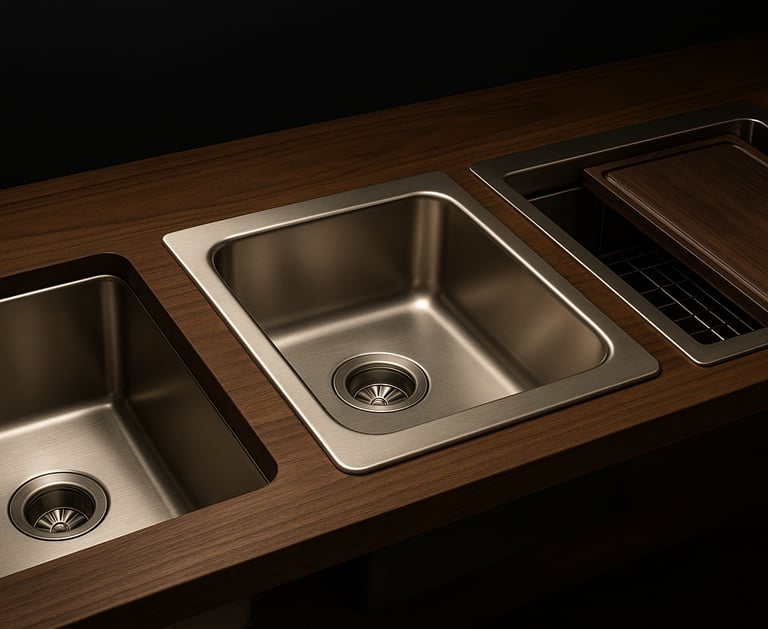
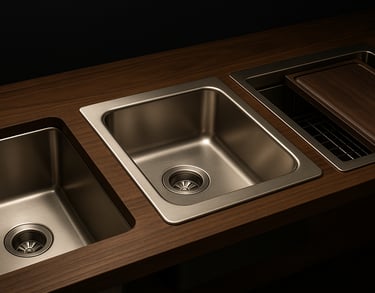
Types of Wet Bar Sinks
Choosing from the best wet bar sinks starts with understanding mounting style and long-term durability.
Undermount Sinks
These are installed under the countertop, so the edge of the counter isn’t exposed. That makes cleanup easier—no rim to catch spills. Installing them needs precise cuts and strong mounting with clips and proper silicone. Stone or solid surface countertops hold up best here. I’ve replaced too many undermounts that were poorly sealed; it’s the sealant that fails over time, not the sink.
Drop-In (Top-Mount) Sinks
Drop-in sinks sit on top of the counter with a rim. Cutting the hole is simpler because you just match the template dimensions. They work with more countertop types but do require more cleaning around the edges. They usually include mounting hardware and extras like strainers or rinse grids. This type works fine—just know the rim is where dirt tends to build up if skipped on cleaning.
Workstation Sinks
Some wet bar sinks come with built-in boards, rinse grids, or colanders. They help workflow but need more planning for space. If you want these features, make sure sink placement and bar size can handle them without crowding.
Planning Your Sink Location
Put the sink close to existing plumbing stuff to keep things straightforward. Check countertop height and sink depth to make sure it feels right when using it. Don’t forget clearance for faucets, soap dispensers, and anything else you plan to install nearby. Missing these details can mean a faucet that hits the backsplash or a cramped workspace. In tighter layouts, integrating sink placement into a broader small space home bar storage strategy prevents overcrowding. Many setups position sinks beside under-counter beverage centers to centralize prep and cold storage. If you're deciding between built-in cooling options, review beverage center vs beverage fridge comparisons before finalizing layout.
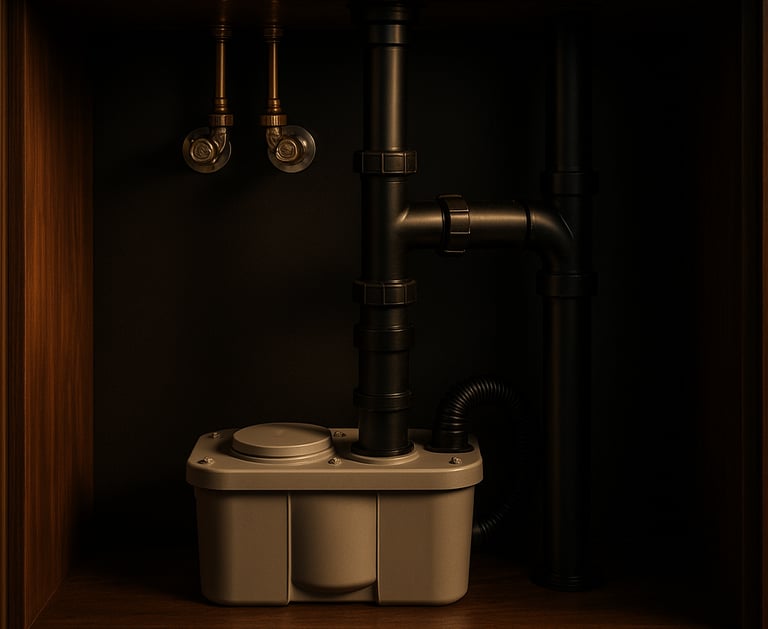
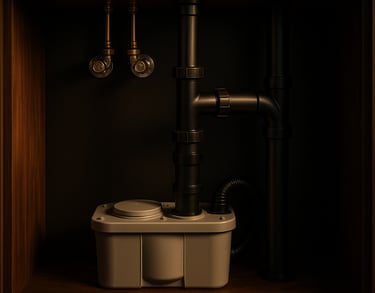
Plumbing and Drainage Options
Your wet bar sink plumbing has to move wastewater without trouble. If your sink is near main drains, simple gravity flow might do. If not, a wet bar drain pump system can handle pushing wastewater from a small basin to the house drain. That saves you having to tear up concrete or run long new pipes.
Drain Pump Systems
These pumps sit in a sump basin and push water uphill or sideways when needed. You’ll find these useful in basements or spots below your home’s main sewer line. It works until it doesn’t, so regular maintenance on pump systems matters.
Tools and Materials Needed
- Jigsaw or hole saw for cutting the countertop accurately
- 100% neutral-cure silicone sealant for sealing the sink rim
- Mounting clips or brackets (especially for undermount sinks)
- Plumbing parts like shutoff valves, drainpipes, and basket strainers
- Wet bar drain pump system if drainage is complicated
Step-By-Step Installation Overview
1. Turn off the water supply and disconnect any existing plumbing.
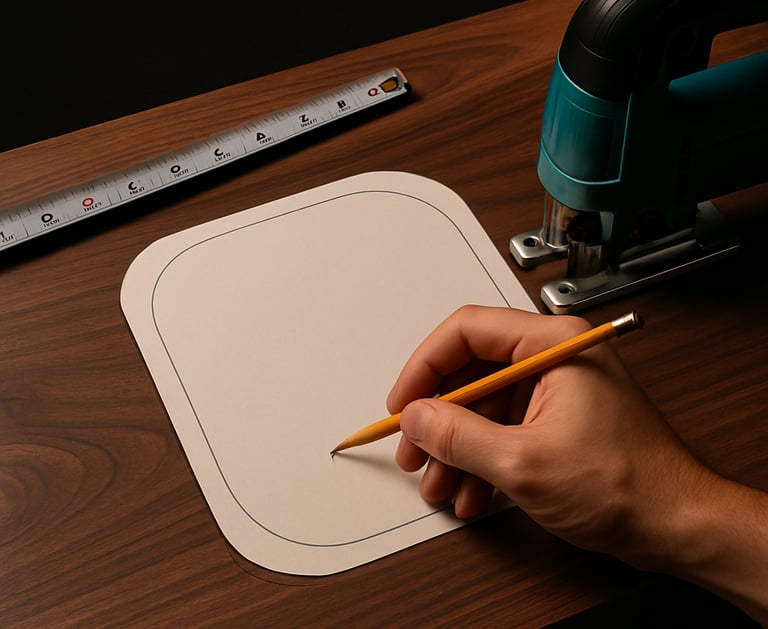
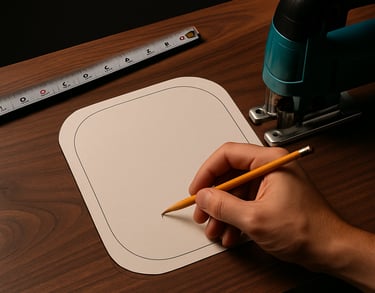
2. Trace the sink template carefully on the countertop. For drop-in sinks, cut about 1/4 inch inside the template edge.
3. Cut the countertop using the right tools for a clean edge.
4. For undermount sinks, put a continuous bead of 100% neutral-cure silicone around the sink rim.
5. Secure the sink with clips or brackets.
6. Install the faucet and hook up the water supply lines.
7. Assemble the drain with rubber gaskets and nuts to keep it leak-free.
8. Turn the water back on and check for leaks.
Many sinks come with strainers and rinse grids. These aren’t just accessories—they stop debris and help with cleaning, so install them if your sink includes them.
Common Mistakes When Installing a Wet Bar Sink
- Skipping proper silicone sealant leads to leaks and long-term damage.
- Poor template tracing causes messed-up cuts and fitting problems.
- Not checking clearance before cutting leads to tight, awkward faucet or fixture setups.
- Relying on adhesives that fail when wet instead of using mechanical clips and proper sealants.
- Forgetting to test for leaks before finishing the job.
I’ve seen enough jobs haunted by these mistakes. They start fine, but give trouble by year three.
Integrating Your Sink with Bar Elements
Plan your sink alongside durable best home bar cabinets designed for wet areas. Pairing it with one of the best glass rinser systems keeps cleanup fast and prevents buildup behind the bar. Proper integration avoids surprises with space and keeps your setup working smoothly. Open shelving from thoughtfully designed back bar shelving systems should be positioned far enough from splash zones to prevent water damage. Sink placement also affects ice workflow, especially when coordinating with ice and temperature control zones behind the bar.
Summary
Planning your wet bar sink right means it lasts longer, works better, and looks right. Choose a sink type and size that fits your space. Trace templates carefully. Use quality sealants and mounting hardware. Think through your plumbing, and consider a drain pump if gravity won’t do. Follow installation steps without skipping checks. Avoid mistakes that cause leaks and call-backs.
For detailed reviews of the best options for wet bar sinks, see our guide at best wet bar sinks.
FAQ
What is the difference between undermount and drop-in wet bar sinks?
Undermount sinks fit under the counter for a smooth edge and easier cleanup but need exact cuts and strong mounting. Drop-in sinks sit on top of the counter, easier to install, but the rim can catch debris.
Do I need a drain pump for my wet bar sink?
If your wet bar is below main drain lines or far from plumbing, a drain pump system moves wastewater without major plumbing reroutes.
Why is neutral-cure silicone important?
Neutral-cure silicone doesn’t release acids that can damage stone or metal. It makes seals last longer and keeps leaks at bay.
Can I install a wet bar sink myself?
DIY is possible for simpler drop-in models if you have the right tools. Undermounts and plumbing might need a pro’s touch.
How do I avoid leaks after installation?
Use proper sealants, mount hardware securely, and always test plumbing by running water and checking under the sink.
What accessories come with wet bar sinks?
Some sinks include basket strainers, rinse grids, mounting clips, and templates to help with installation.
How do I maintain my wet bar sink?
Clean regularly with gentle cleaners, avoid harsh chemicals, and check seals and plumbing connections for leaks or wear over time.
© 2026 Barkeepers Buzz. All rights reserved.
Barkeepers Buzz
Master cocktails, spirits, and bar knowledge with clarity and precision. Built for serious home enthusiasts.
Crafted with respect for the culture — and the responsibility that comes with it.
For educational purposes only. Intended for legal drinking age audiences. Please drink responsibly.
General Inquiries: