How to Layer Cocktails Like a Pro: Step-by-Step Guide
Learn how to layer cocktails like a pro with this step-by-step guide that covers essential techniques, tools, and recipes for stunning layered drinks.
BAR TOOL GUIDESCOCKTAILS & MIXED DRINKS
Barkeepers BuzzBlog Editorial Team - Led by AJ “Buzz” Eichman
4/12/20264 min read
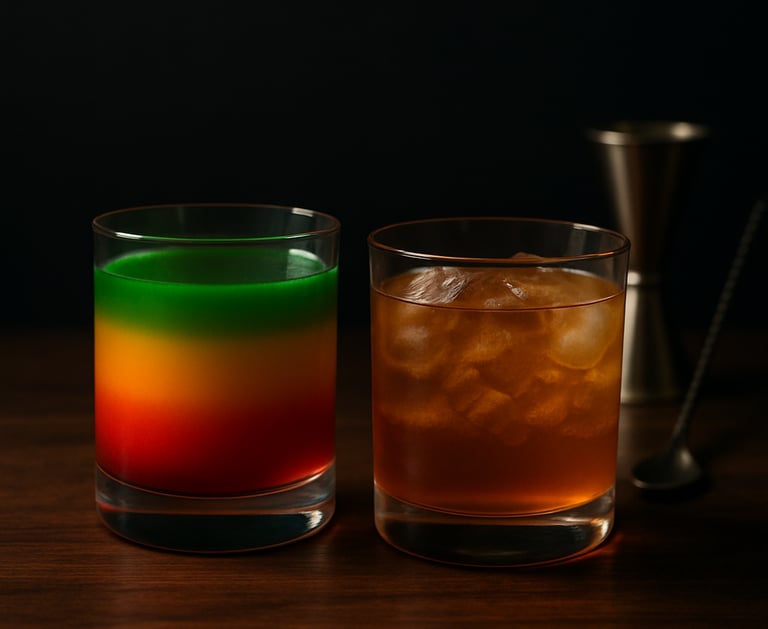
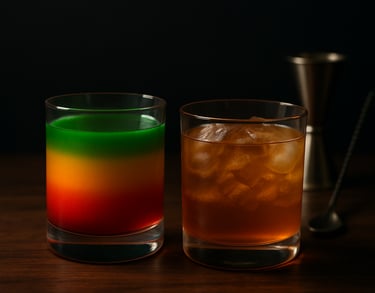
Layered cocktails are one of those impressive bar tricks that instantly catch the eye. There’s just something mesmerizing about a glass filled with distinct, colorful layers stacked neatly on top of each other. But layering drinks isn’t just about aesthetics—it’s a technique that, when done right, can create a unique drinking experience as flavors mix slowly with each sip.
Over the past few shifts, I’ve been testing different liquors, pouring techniques, and tools to figure out what really makes layering work well and what’s mostly hype. If you’re building your skills, this is one of those techniques that connects directly to the broader techniques & professional skills every bartender should understand.
If you’re curious about how to layer cocktails effectively or want to add a standout skill to your home bar routine, this guide breaks it down step by step.
Quick Verdict
Using liquors with different sugar content and alcohol percentages is key for density contrast
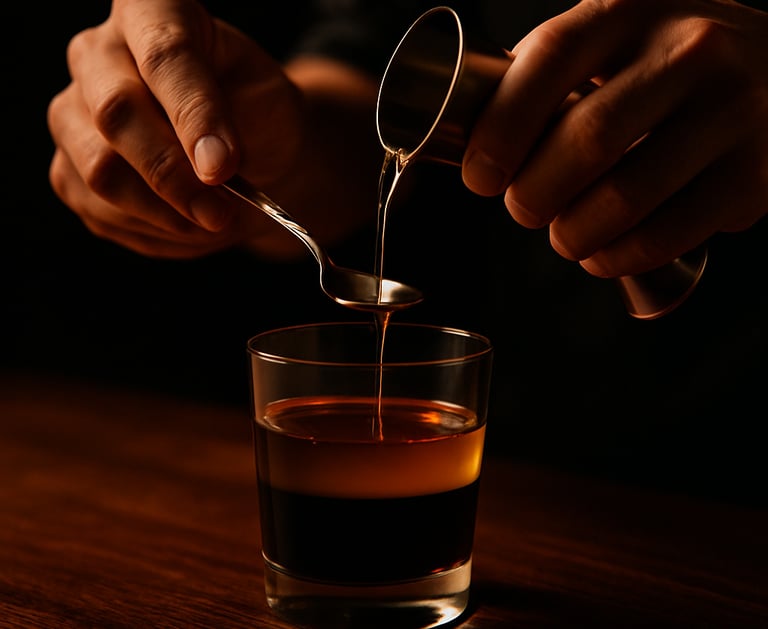
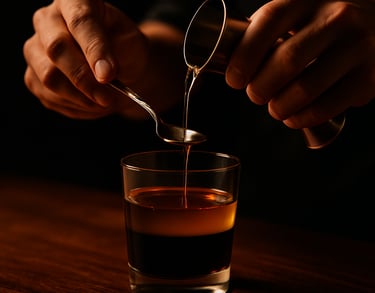
Pouring slowly—usually over the back of a spoon—prevents unwanted mixing
Start with the densest liquid at the bottom and work toward lighter ones
Basic tools like bar spoons and jiggers make layering far more consistent
What Is a Layered Cocktail? Understanding the Basics
When you see a cocktail with clearly defined horizontal bands of color, you’re looking at a layered drink. The goal is to keep liquids separate instead of blending them immediately, which comes down to understanding density—how heavy or light a liquid is compared to another.
Density is driven mostly by sugar and alcohol content. More sugar = heavier liquid. Higher alcohol = lighter liquid. That’s why something like grenadine sinks while spirits float.
Once you understand that, layering becomes less of a trick and more of a controlled process.
Why Layer Cocktails? Presentation and Flavor Benefits
I didn’t expect layering to matter much beyond looks at first, but it actually adds more than just visual appeal.
Presentation: Clean, colorful layers look polished and professional
Flavor progression: Drinks evolve as layers mix gradually while you sip
Skill development: Improves pouring control and ingredient awareness
It’s one of those techniques that sharpens your overall bartending ability—not just your showmanship.
Tools You Need for Perfect Cocktail Layering
After testing different setups, a few tools stood out as essential:
Bar Spoon: The go-to tool for layering. Pouring over the back slows the liquid and spreads it gently. If you want to understand why this works so well, check out why bar spoons are twisted—the design actually helps guide liquid flow.
Jigger: Precise measurements keep layers balanced. This guide on cocktail jigger measurements helps if you want consistency.
Pipettes (optional): Great for fine control in layered shots
Glassware: Narrow, straight-sided glasses make layers easier to see and maintain
If you’re upgrading tools, these picks for the best bar spoons and best jiggers are solid starting points.
How to Measure Density and Choose the Right Liquors
Understanding density is what makes layering work. Here’s the general rule I followed:
Start with high-sugar liqueurs or syrups (grenadine, coffee liqueur)
Move to mid-density ingredients like juices or cream liqueurs
Finish with higher-proof spirits like vodka, rum, or tequila
If you’re unsure, test it. Pour one ingredient, then try layering another slowly on top. If it sinks, reverse the order.
With repetition, you’ll start to recognize what works without thinking too much about it.
Step-by-Step Guide to Layering a Cocktail
Here’s the method I’ve had the most success with:
Choose 2–4 ingredients with different densities
Measure everything ahead of time
Pour the heaviest liquid directly into the glass
Hold a bar spoon upside down just above the surface
Slowly pour the next ingredient over the spoon
Repeat from heaviest to lightest
Serve without disturbing the layers
The biggest factor here is control. Small changes in speed or angle can make or break the layers.
If you want to refine your pouring and control overall, practicing with techniques from how to stir with a bar spoon actually helps build that same hand control.
Tips and Tricks: Pouring Techniques for Clear Layers
A few techniques stood out during testing:
Spoon-back pouring: Most reliable and beginner-friendly
Slow side pour: Works occasionally, but less consistent
Pipette layering: Best for precision in smaller drinks
Also, temperature matters more than I expected. Colder liquids tend to layer better due to slight viscosity changes.
Common Mistakes and How to Avoid Them
These are the most common issues I ran into:
Pouring too fast → causes immediate mixing
Ignoring density order → layers collapse
Using similar-density ingredients → no separation
Skipping the spoon → less control
Overfilling the glass → layers blend or spill
Not planning the sequence → uneven results
A lot of these fall into broader technique issues, which is why reviewing common home bartending mistakes can help clean things up quickly.
Layered Cocktail Recipes to Try at Home
Here are a couple of reliable recipes to practice with:
B-52 Shot
Bottom: Coffee liqueur
Middle: Irish cream
Top: Orange liqueur
Pour each layer slowly over the spoon. This one is great for learning control.
Tequila Sunrise (Layered Style)
Bottom: Grenadine
Middle: Orange juice
Top: Tequila
The density difference naturally creates a gradient effect, making it forgiving for beginners.
FAQs
What makes a good liquor for layering?
High-sugar liqueurs for the bottom, higher-ABV spirits for the top.
How do I know the order?
Densest to lightest. When in doubt, test it.
Can all ingredients be layered?
No—similar densities won’t separate well.
What tools do I need?
At minimum: bar spoon and jigger.
Why do my layers mix?
Usually pouring too fast or incorrect density order.
Is layering just visual?
No—it changes how flavors are experienced as they blend gradually.
How do sugar and alcohol affect layering?
Sugar increases density (sinks), alcohol lowers density (floats).
Is this hard for beginners?
It takes practice, but it’s very learnable with the right approach.
Conclusion
Learning how to layer cocktails opened up a whole new dimension for me behind the bar. It blends a bit of science with patience and control, and once it clicks, it becomes a really satisfying skill to use.
Start simple. Focus on density, slow pouring, and control. With a little repetition, layering goes from frustrating to automatic.
If you’re continuing to build your setup, the full bar tools guide is a great next step. And if you’re still refining your core skills, revisiting the minimalist home bar tool setup can help simplify what you actually need.
Take your time, pour with intention, and enjoy the process.
Happy layering. 🍸
© 2026 Barkeepers Buzz. All rights reserved.
Barkeepers Buzz
Master cocktails, spirits, and bar knowledge with clarity and precision. Built for serious home enthusiasts.
Crafted with respect for the culture — and the responsibility that comes with it.
For educational purposes only. Intended for legal drinking age audiences. Please drink responsibly.
General Inquiries: